Introduction
Editing photos has become an essential skill for anyone looking to improve the quality of their visual content, whether for social media, personal use, or professional projects. One common challenge in photo editing is removing unwanted objects, people, or distractions from images. Enter the Magic Eraser tool – a feature that uses artificial intelligence (AI) to remove objects seamlessly from photos, leaving behind a clean and natural-looking background. In this article, we will explore how Magic Eraser works, the best tools to use, and some tips to achieve the perfect edit.
What is Magic Eraser?
Magic Eraser is a photo editing tool that utilizes AI and machine learning to automatically detect and remove unwanted objects from images. It’s commonly found in various photo editing apps and is designed to make photo touch-ups easier and more efficient. The tool works by analyzing the area surrounding the object you want to remove, then using AI to intelligently fill in the gap, ensuring that the photo looks natural and seamless.
This feature is often used to:
- Remove people from crowded backgrounds.
- Eliminate distractions such as wires, trash, or signs.
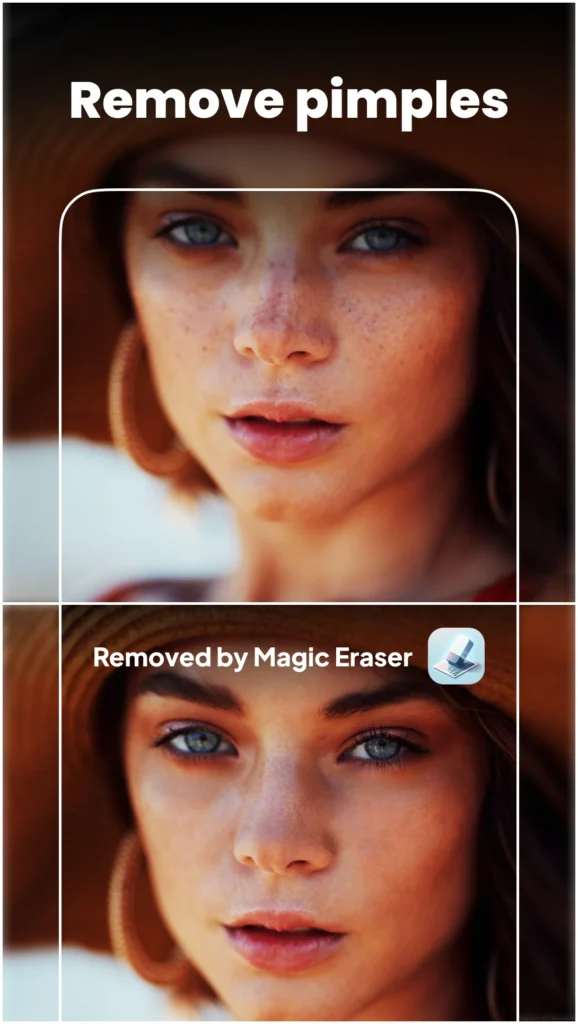
- Erase blemishes or small imperfections in photos.
- Get rid of photobombers in group shots.
How Magic Eraser Works
Magic Eraser typically involves three simple steps:
- Object Detection: The tool uses AI to detect the object you want to remove. In some cases, it can automatically suggest objects, while in others, you manually select the object using a brush or lasso tool.
- Object Removal: Once the object is selected, the AI removes it and fills in the surrounding area by analyzing the pixels around the object to recreate the background seamlessly.
- Background Restoration: The AI then blends the filled area with the rest of the image, ensuring a natural look as if the object was never there.
Best Apps with Magic Eraser Features
Here are some of the best apps and tools that offer Magic Eraser or similar object-removal features:
1. Google Photos (Magic Eraser)
The Magic Eraser feature, popularized by Google Pixel phones, is now integrated into Google Photos. It allows you to easily remove unwanted objects from your photos using AI.
- How to Use:
- Open Google Photos and select the photo you want to edit.
- Tap on the “Edit” option and scroll to the “Tools” tab.
- Select Magic Eraser. The AI may automatically detect and suggest objects to remove, or you can manually select the area.
- The tool will remove the object and fill in the background.
- Best For: Quick, automatic object removal on mobile devices.
2. Adobe Photoshop
Adobe Photoshop offers a more advanced version of object removal with tools like Content-Aware Fill and Spot Healing Brush. While it requires more manual input than automatic tools, the results are often more precise.
- How to Use:
- Open your image in Photoshop.
- Use the Lasso Tool or Marquee Tool to select the object you want to remove.
- Go to Edit > Content-Aware Fill, and Photoshop will fill the selected area with surrounding pixels.
- Fine-tune the results using the Healing Brush or Clone Stamp Tool.
- Best For: Professional-level editing with advanced control over the removal process.
3. Snapseed
Snapseed, a free photo editing app by Google, has a powerful Healing Tool that can be used to remove small objects from photos. It’s ideal for removing minor distractions like blemishes, spots, or small objects.
- How to Use:
- Open your image in Snapseed.
- Select the Healing tool from the editing menu.
- Tap on the area or object you want to remove, and Snapseed will fill in the space using AI-based pixel blending.
- Best For: Quick fixes and object removal on mobile devices.
4. TouchRetouch
TouchRetouch is an app designed specifically for removing unwanted objects from images. It provides a user-friendly interface and AI-driven tools that help remove even complex objects like wires, poles, and entire people.
- How to Use:
- Open your image in TouchRetouch.
- Use the Object Removal tool to highlight the object or area you want to erase.
- The app will automatically remove the object and fill in the background.
- Use the Line Removal tool for long objects like wires or horizon lines.
- Best For: Specialized object removal, particularly for tricky areas like wires and cables.
5. PicsArt
PicsArt is a popular all-in-one photo editing app that offers an easy-to-use object removal tool. It’s not as precise as Photoshop but great for quick edits.
- How to Use:
- Open your image in PicsArt.
- Tap on the Tools tab and select the Remove tool.
- Highlight the object or area you want to remove.
- PicsArt’s AI will erase the object and blend the background.
- Best For: Beginners looking for a simple, effective tool for object removal.
Manual Object Removal Techniques
In addition to AI-based Magic Eraser tools, you can manually remove objects from photos using traditional photo editing techniques. These methods offer more control but require more skill and effort.
1. Clone Stamp Tool (Adobe Photoshop)
The Clone Stamp Tool in Photoshop allows you to manually copy pixels from one area of an image to another. This is useful for removing objects and filling in the background, especially in detailed areas where AI tools might struggle.
2. Healing Brush Tool (Adobe Lightroom/Photoshop)
The Healing Brush Tool blends pixels to remove objects or imperfections. It works similarly to the Magic Eraser, but you manually select the source area for blending, giving you more control over the result.
3. Layer Masking (Photoshop)
For more complex object removal, using layer masks allows you to hide or reveal parts of an image non-destructively. This method works well for larger objects or when you need to remove an object from one layer while preserving the background.
Tips for Best Results
- Use High-Resolution Images: The higher the resolution of your photo, the better the Magic Eraser tool will work. Low-res images can result in pixelation or unnatural blending.
- Be Mindful of the Background: AI tools work best with simple backgrounds. If the background is busy or highly detailed, manual touch-ups might be required to make the edit look seamless.
- Check the Edges: After removing an object, zoom in to check the edges for any artifacts or inconsistencies. You can often clean up these areas with manual tools like the Healing Brush or Clone Stamp.
- Use a Combination of Tools: Sometimes, AI-based removal won’t get everything perfect. In such cases, follow up with manual tools like the Clone Stamp or Spot Healing for a cleaner finish.
- Experiment with Different Apps: Different tools have varying strengths. Google Photos’ Magic Eraser is great for quick fixes, while Photoshop offers more control for complex edits. Try a few and see which works best for your needs.
Conclusion
The Magic Eraser tool has revolutionized the way we edit photos by making object removal quick, easy, and accessible to everyone. Whether you’re using Google Photos, Adobe Photoshop, Snapseed, or another app, the ability to remove unwanted objects with just a few clicks can drastically improve your photos. While AI can handle most tasks, combining it with manual touch-ups will give you the best results, especially for more complex images. With these tools and techniques at your disposal, you can create polished, professional-quality photos in no time.